Methi Malai Mutter is a super-hit combination as their flavors complement each other very well.I added a variation of making it with some smoky flavor to enhance the taste. My guests were impressed & the dish was a hit. I bet that this recipe will be a hit with you too & you will want to add it to your favorites list. The best part of this recipe is, it is very easy & simple yet very tasty.Hope you like it!!
Ingredients
– 1 large onion quartered
– 3 large tomatoes quartered
– 1/2 bunch methi leaves cleaned and finely chopped
– 1/4 cup cashew nuts
– 1 big black cardamom
– 1 small cardamom
– 1 small cinnamon stick
– 1/2 tsp nutmeg powder
– 1 tsp black pepper powder
– 1 tbsp green chilli paste
– 1 tsp ginger paste
– 1tsp garlic paste
– salt to taste
– 1 tsp cumin seeds
– 1 tsp coriander powder
– 1 tsp sugar
– 1/2 cup frozen peas
– 1/2 cup whole milk (I use half & half milk instead of cream)
– a pinch turmeric powder
– 2 tbs oil
– 2 tbs kasuri methi
– 1 tbs ghee
– 1 tsp ghee + a small piece of coal
Instructions
– In a frying pan heat oil.
– splutter cumin seeds + cinnamon + cardamom + cloves then add onions+ tomatoes + coriander powder + ginger, garlic, chilli paste+ cashews + haldi + salt + sugar + pepper. Cook until tomatoes leave water and cashews are soft.
– puree to fine paste the cooked mix once cool.
– In a separate kadhai , heat ghee, add the peas + methi leaves saute for 2 mins.
– add the puree and stir well.
– add milk to the gravy and let it boil.
– Add kasuri methi by crushing it in between your palms.
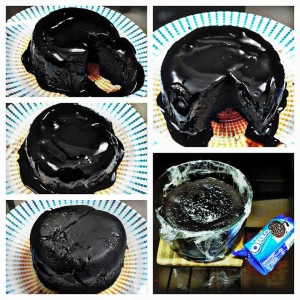
Take a small piece of lit coal in a katori.
Place the katori in the middle of the gravy.
Pour 1 tsp of ghee on it and cover it immediately.
Let it rest for 10-15 mins so that the smoke flavor is absorbed.
Serve it with hot roti